A Raw Unedited Look Into My Process
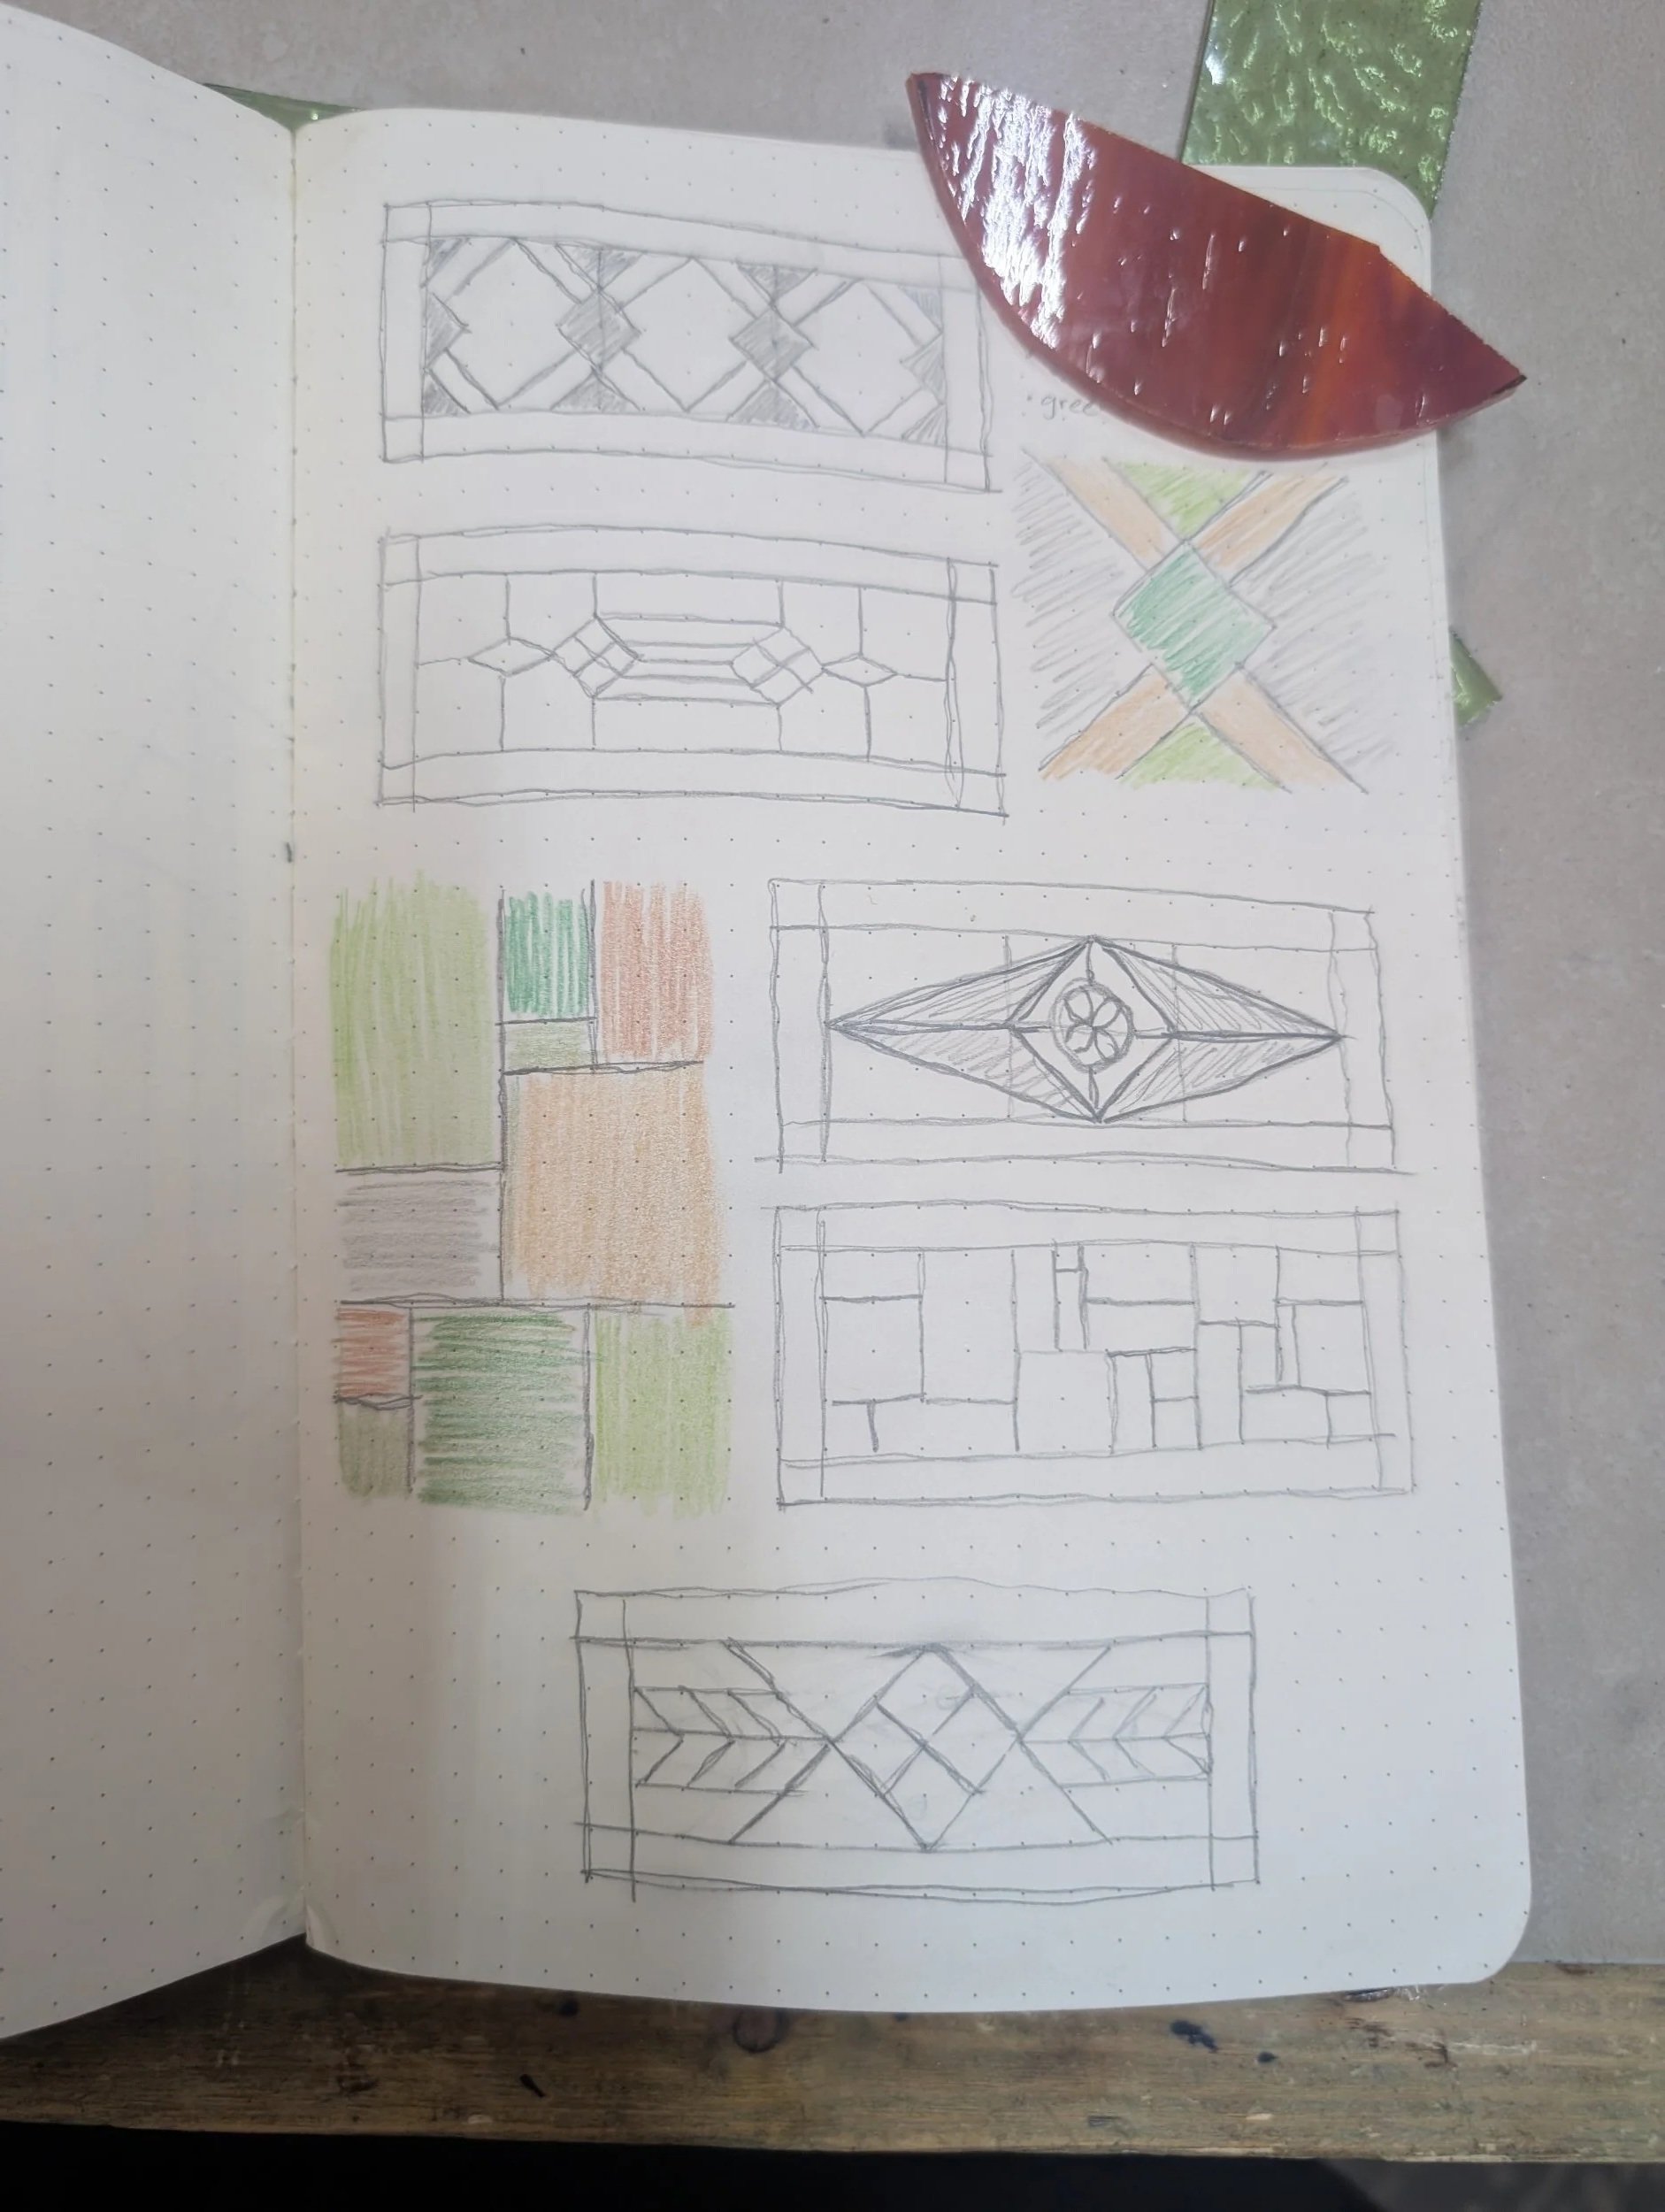
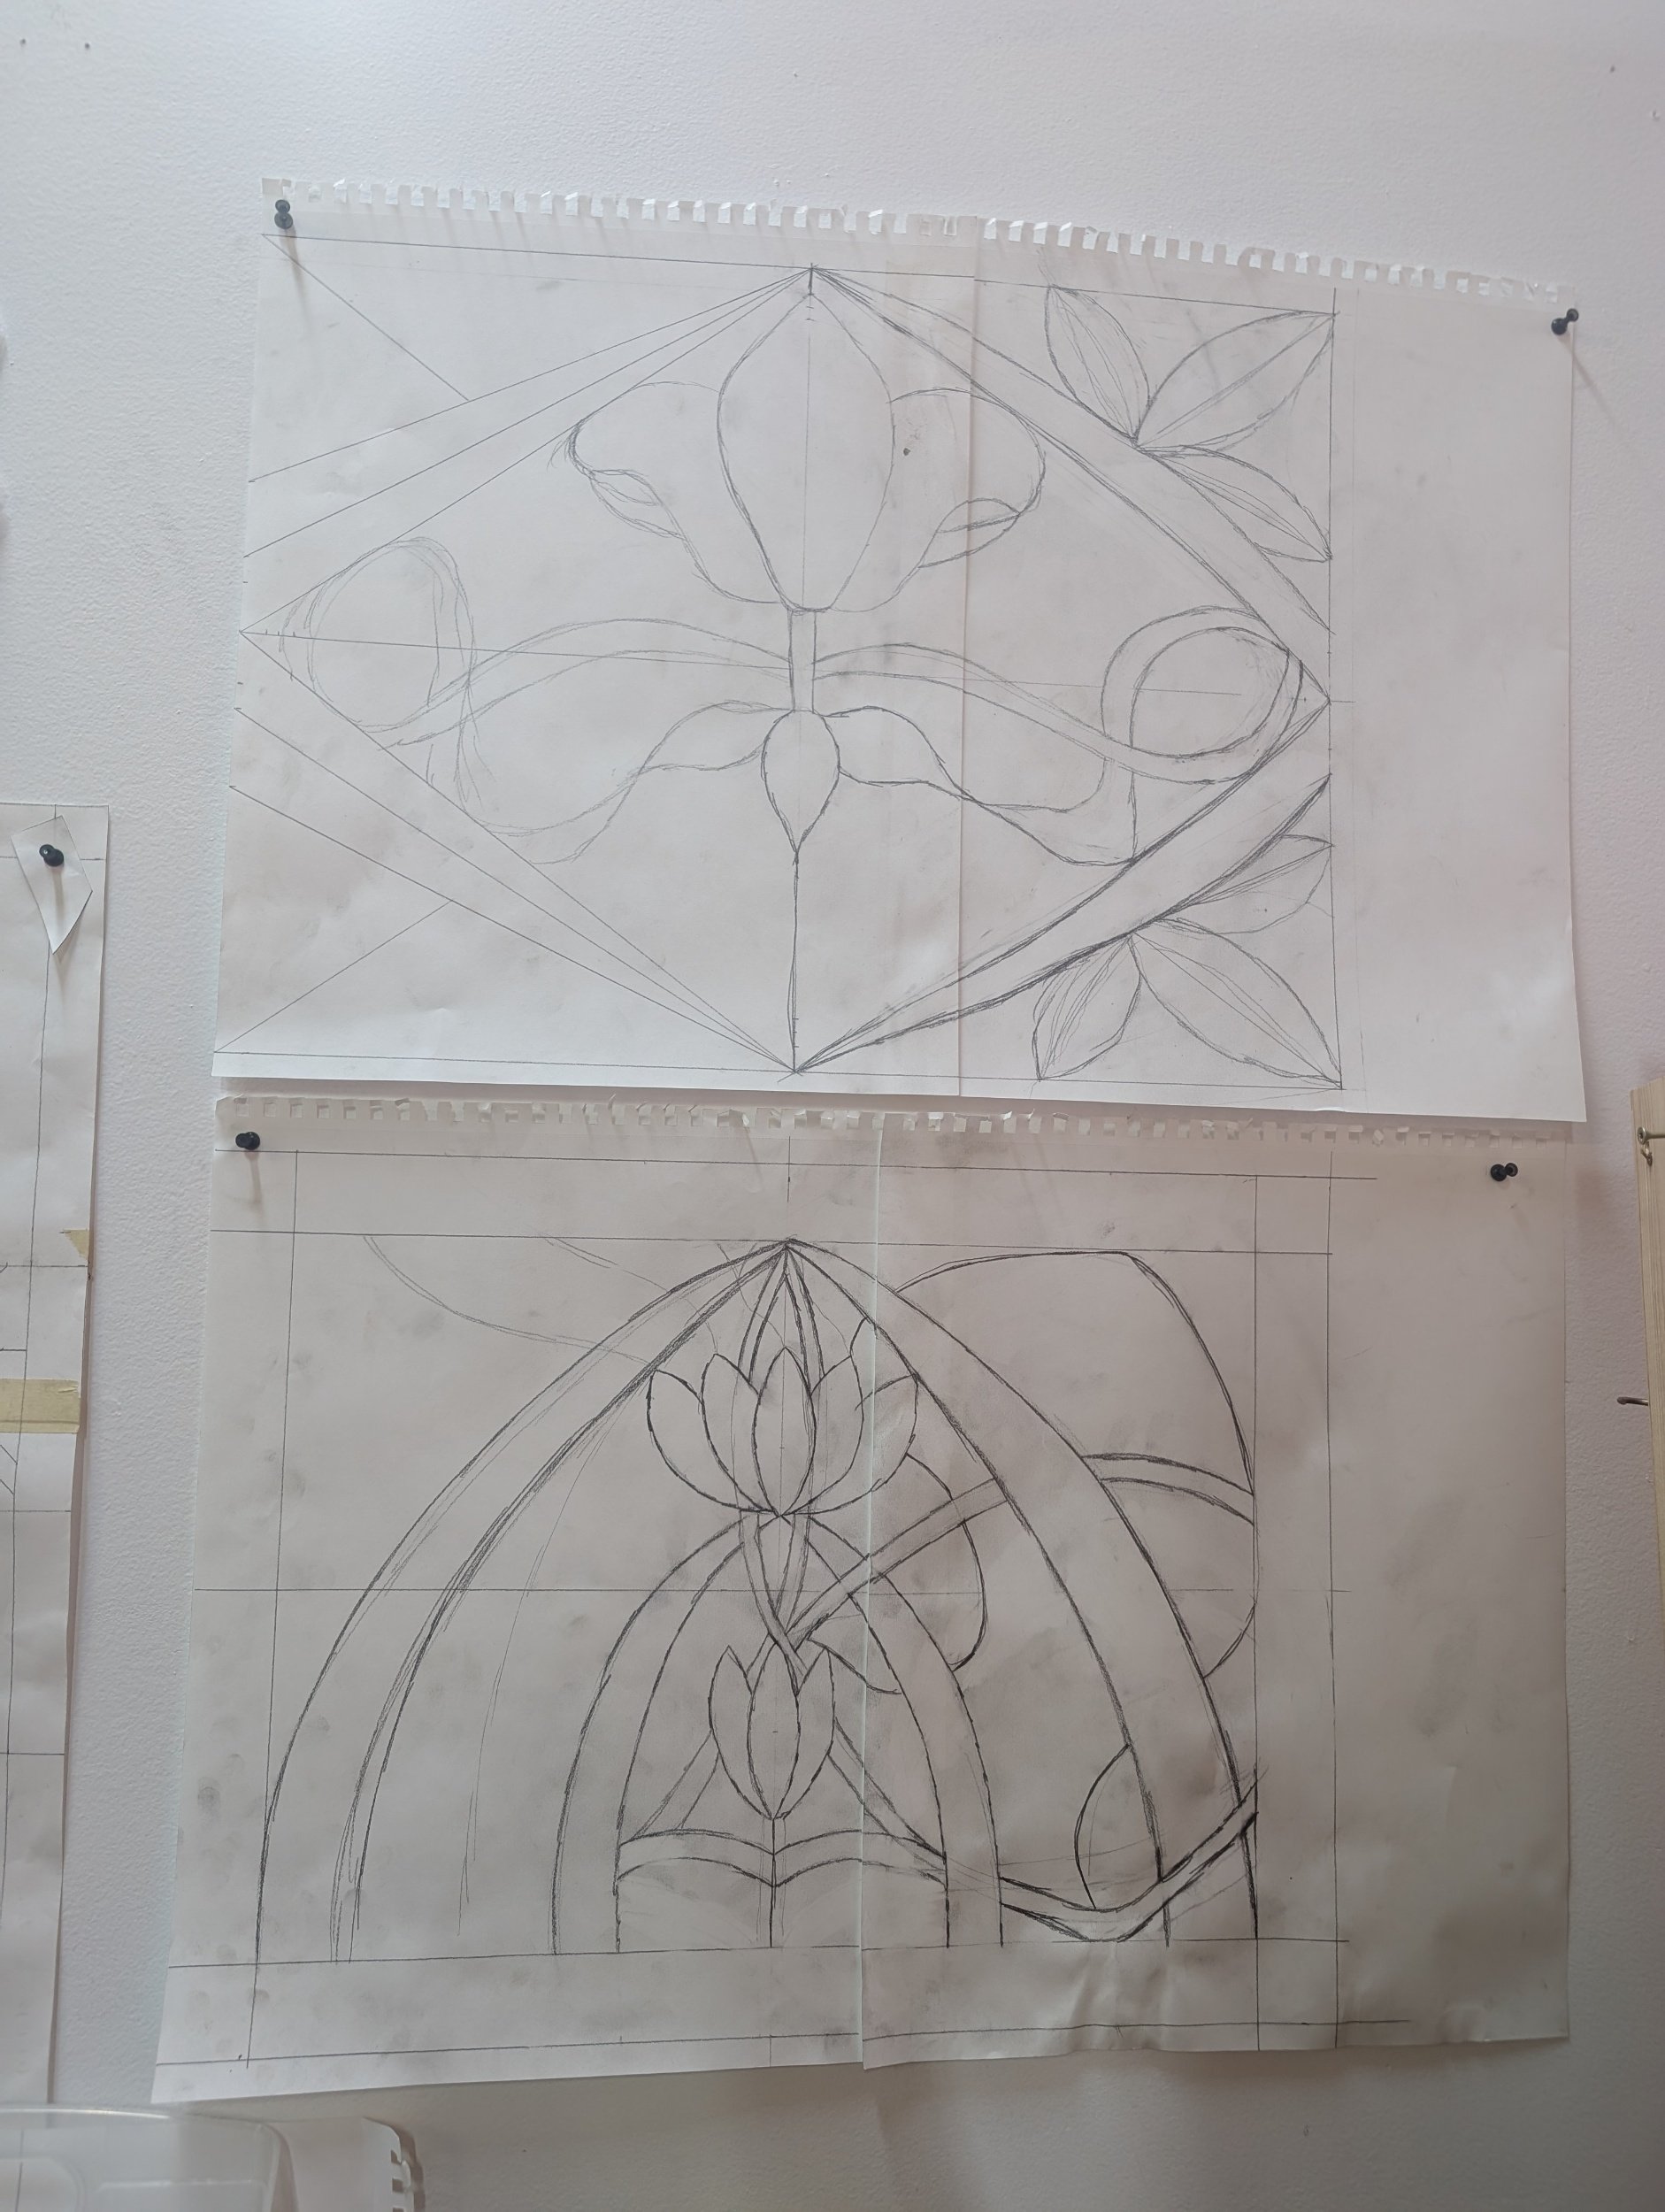
It all starts with a raw small sketch. I have always been a sketcher from a little middle schooler to an architectural draftsman, to modern day Anthony, I carry my sketchbook everywhere with me. Something that I find really important in life is to live in the present moment, watch a bird fly, observe a sunrise, the way the sun passes through a tree, etc. you never know when inspiration will hit. Once I like a sketch enough, I draft it up to scale. This was my favorite part about architecture school was the big, drafted drawings always gave me a sense of accomplishment and getting to carry this over into my art profession brings my heart much joy.
In the modern world, we have such advancements in technology that the older masters did not, however most of the process of making stained glass is still hand done. The process breaks down into 4 simple steps: cutting, grinding, prepping, and soldering.
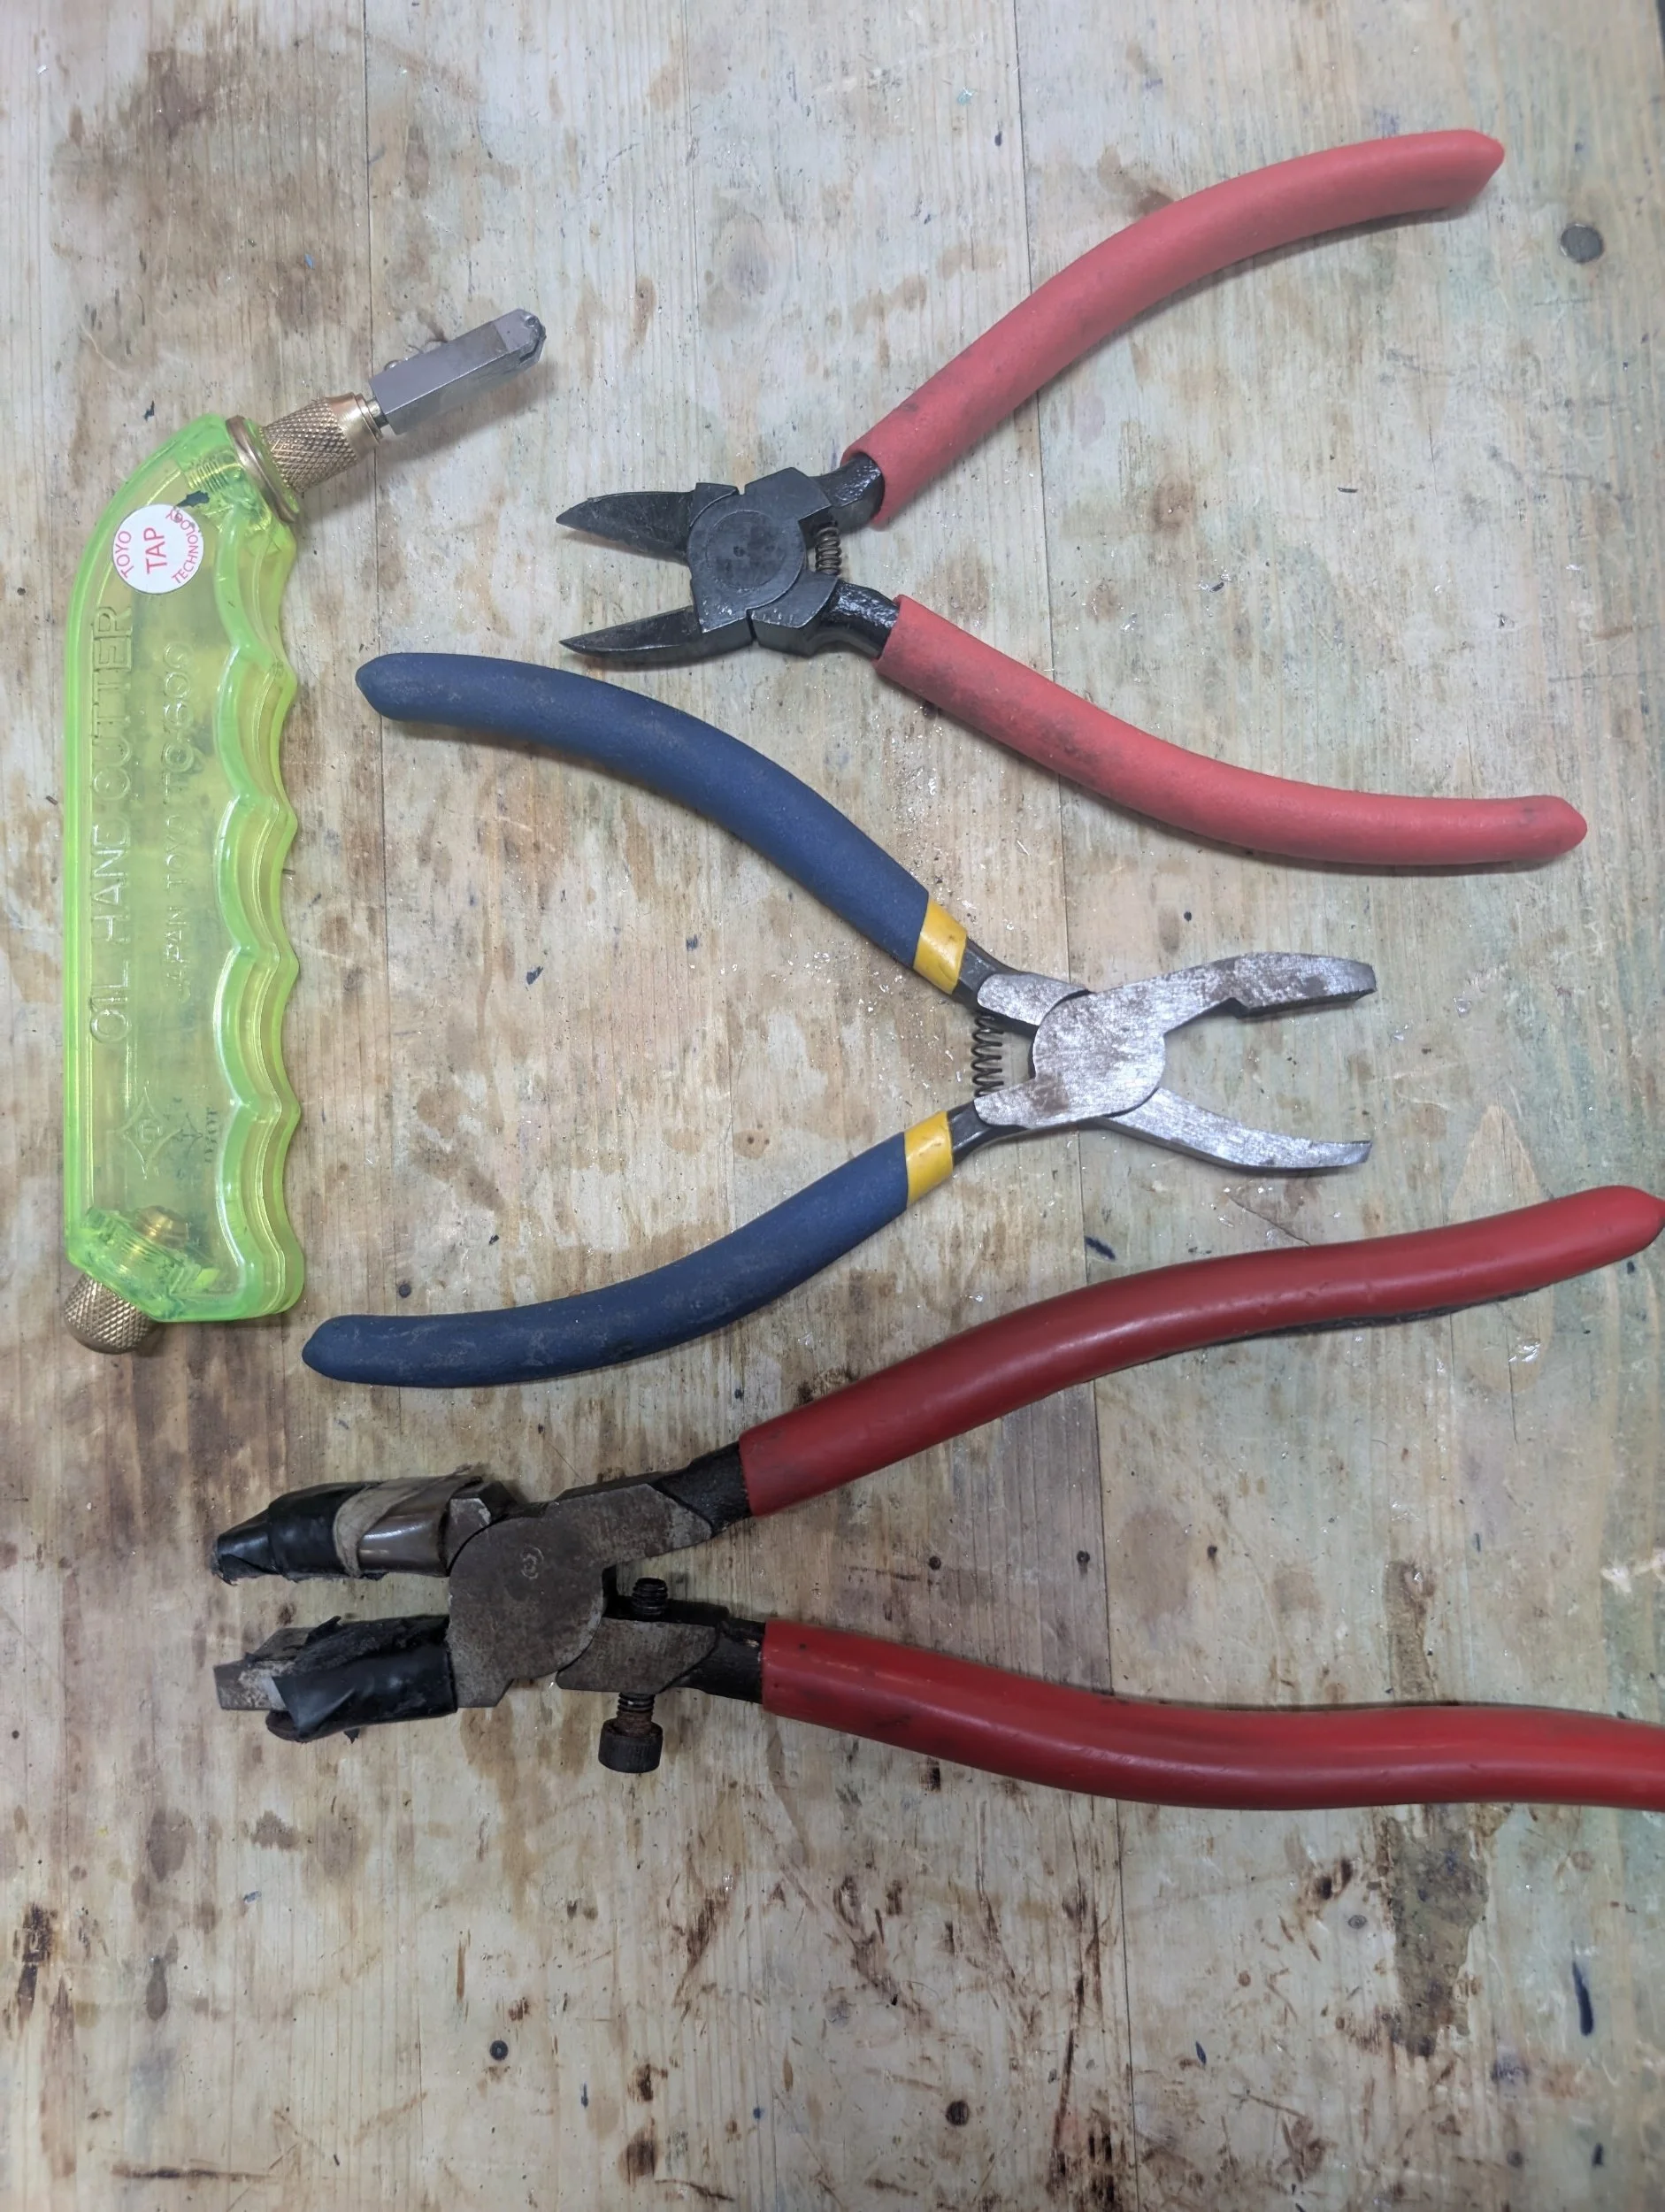
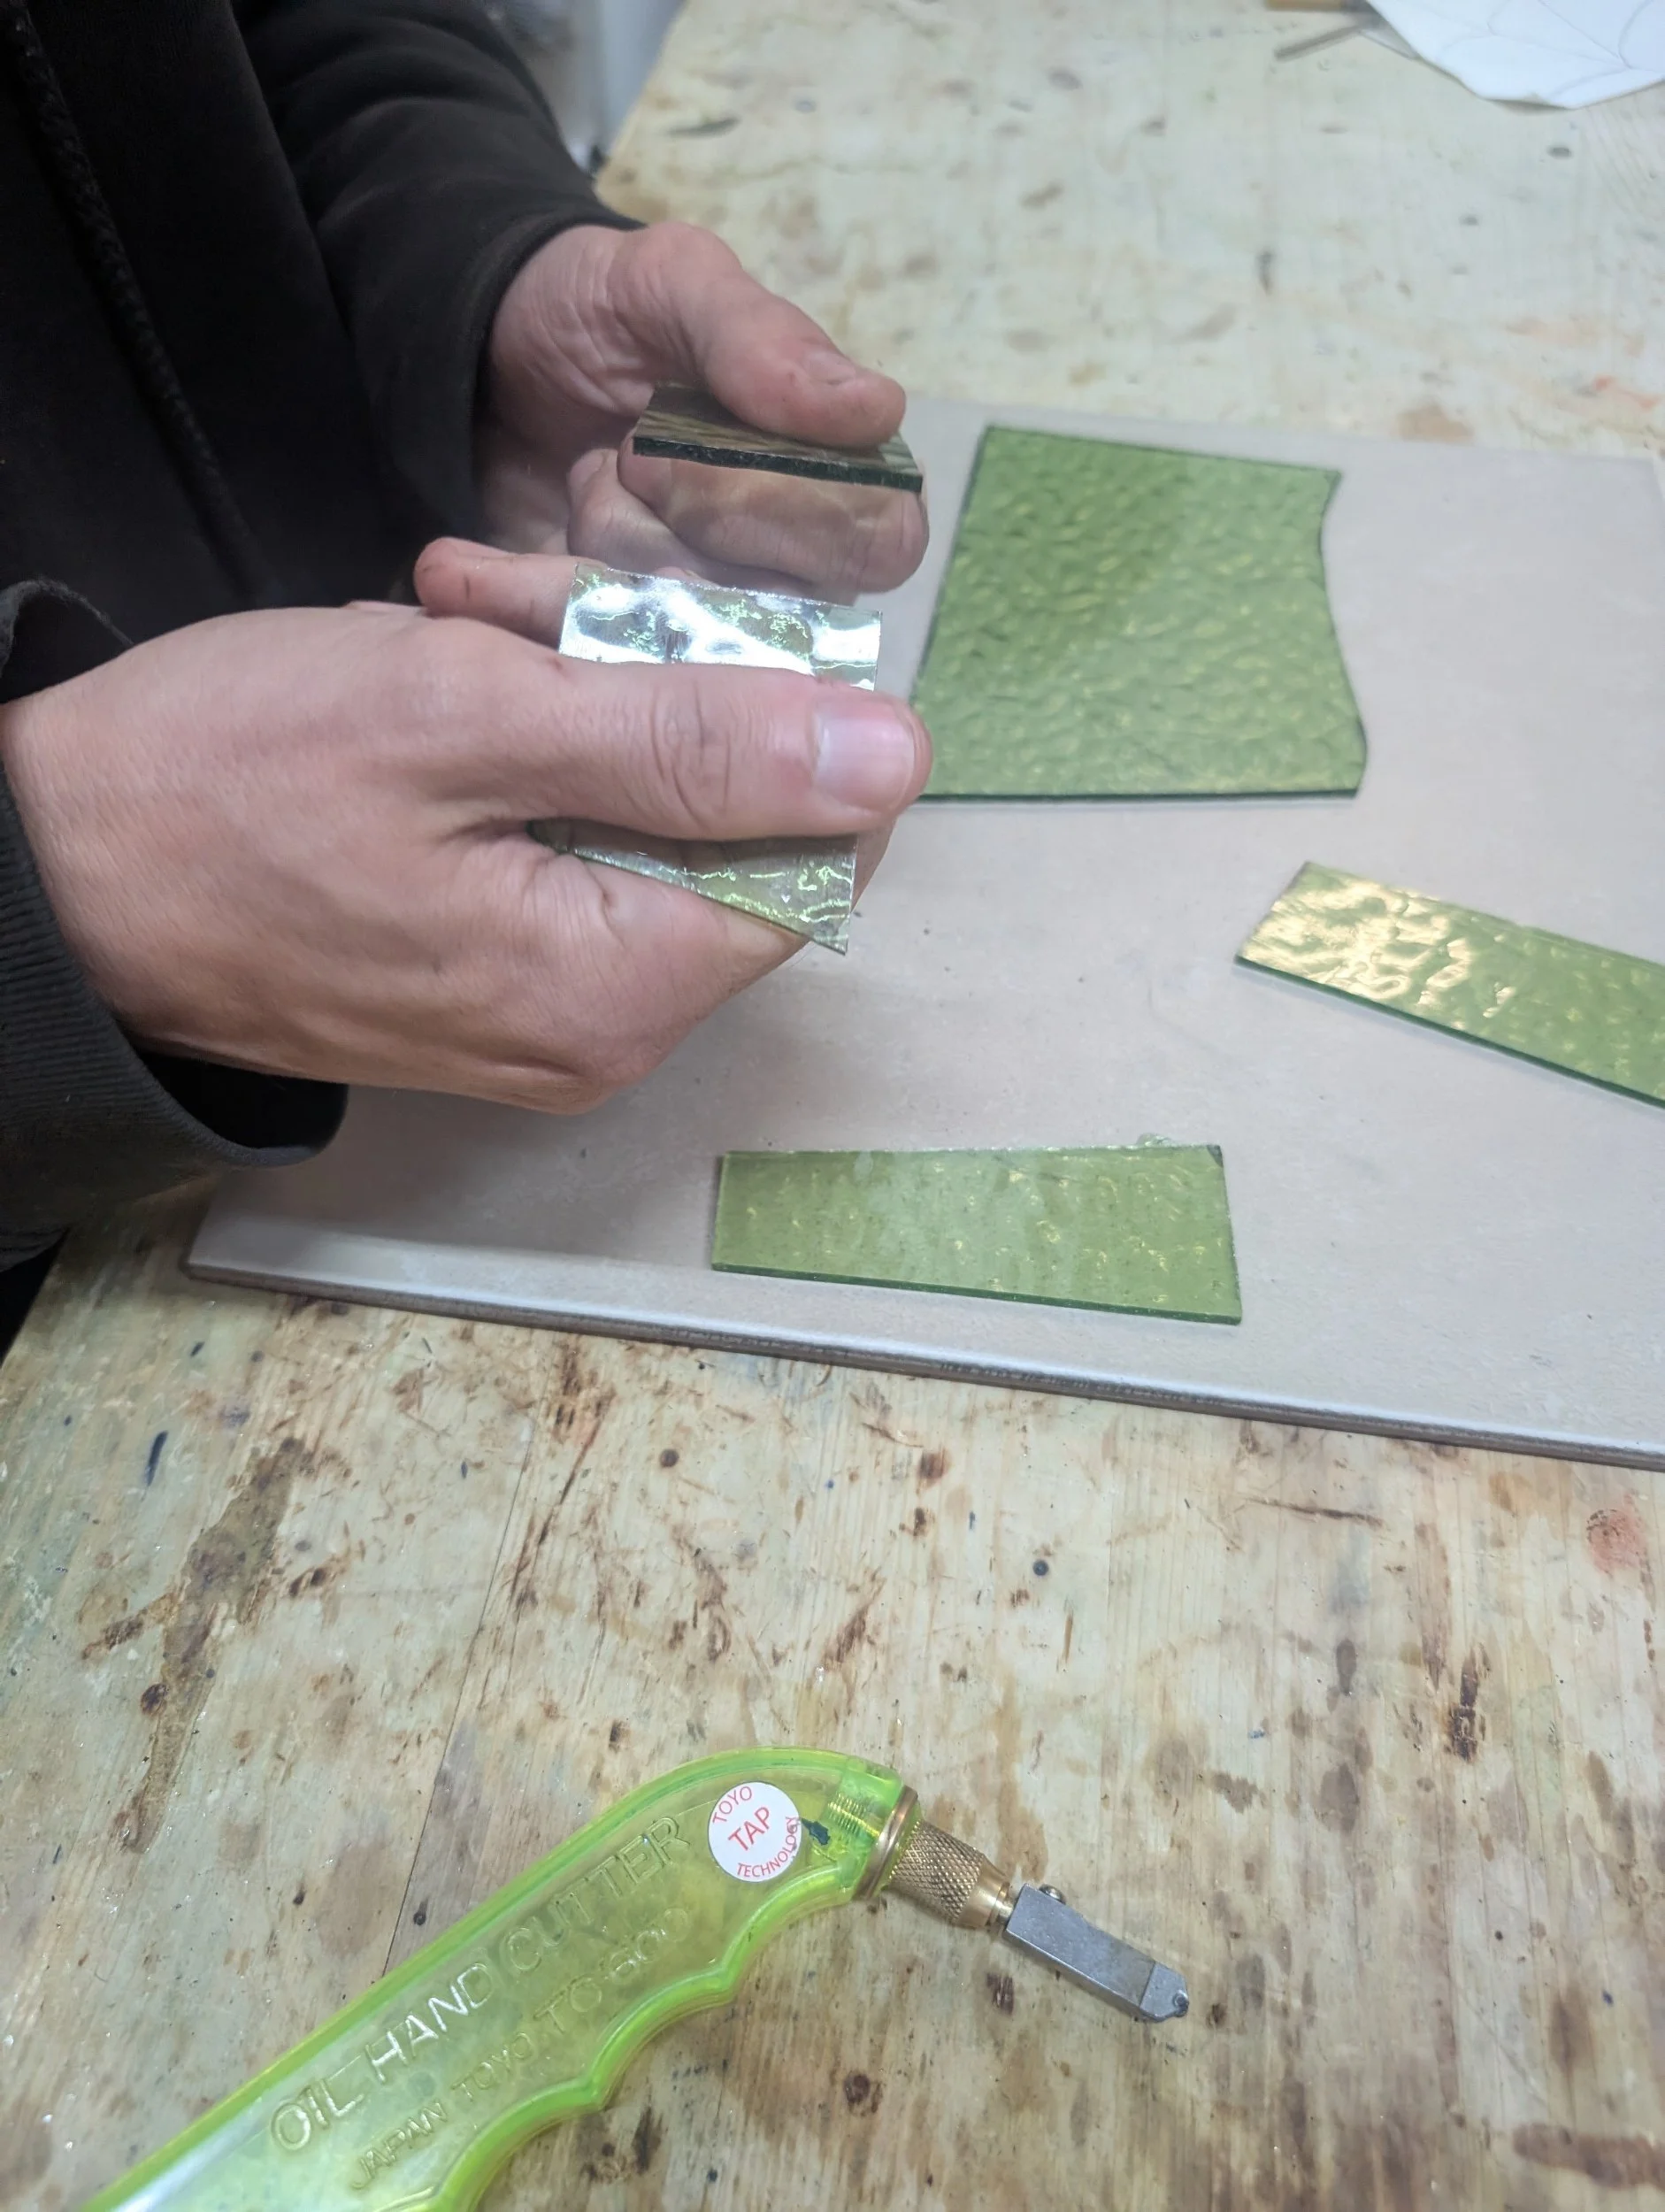
Cutting: I start by tracing my design onto the class I want to cut. Then I score the glass by dragging a tiny blade on the smooth side of the glass. This creates the line for the glass to break; I always say cutting is just controlled braking of the glass. Then using my hands or a C clamp plyer to break the glass along the score line. Sometimes this leaves little jagged edges and little snaggles (especially on curves). I take my secondary plyer (the blue handled on in the picture) and clip those little bits off. I repeat this process until every piece is cut for my piece and ready to move onto grinding.
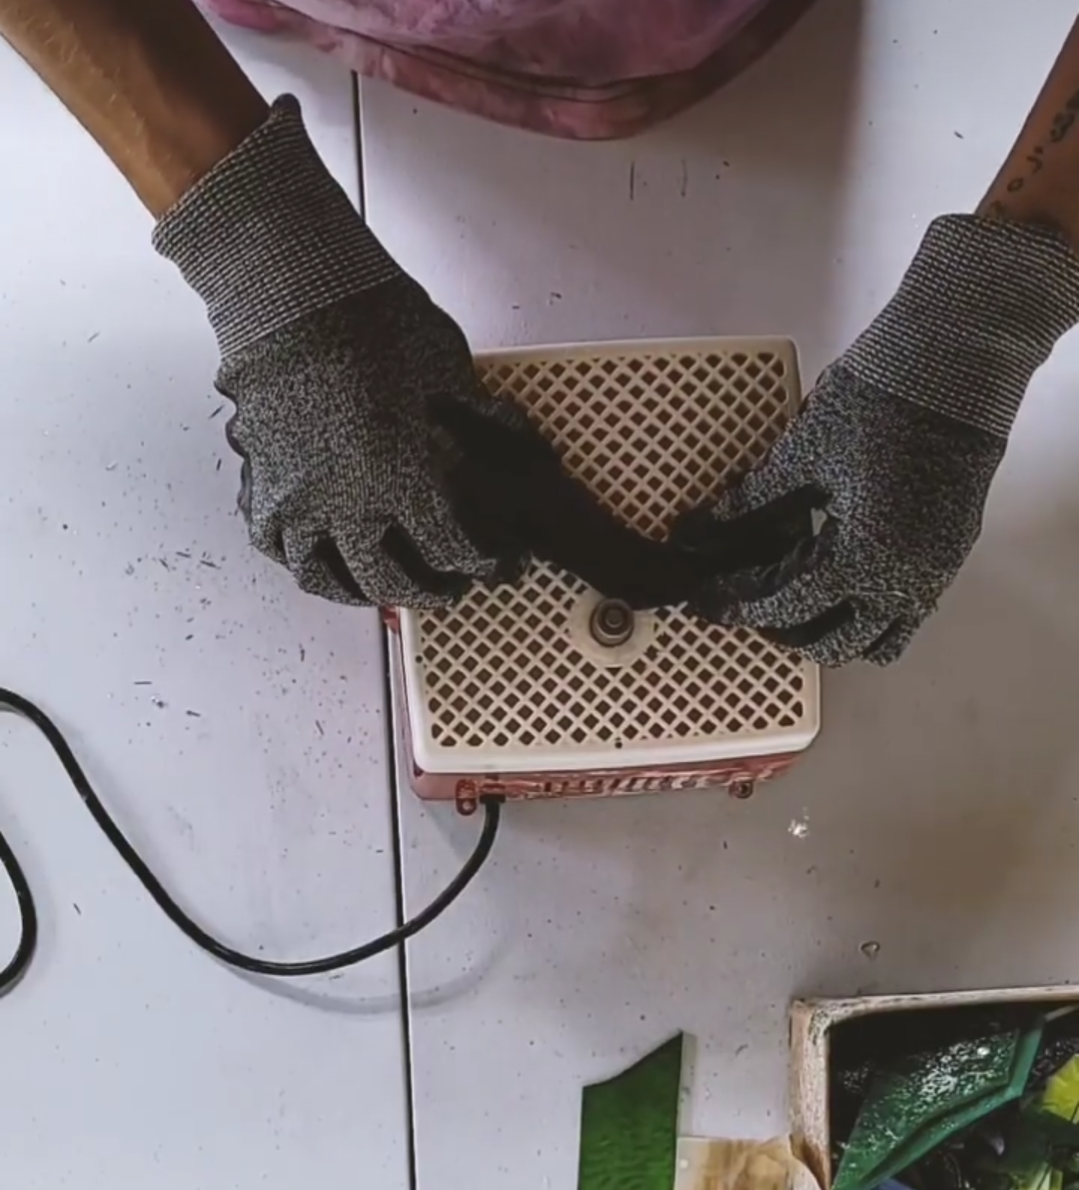
Grinding: This process I take advantage of having electricity and use I diamond tipped water grinder machine which is similar to a tile cutter. I shape the glass, smoothing out all the edges and weeble wobbles in my score line. This is where precision becomes important, I like for all my pieces to line up as well as I can get them. This will eliminate any gaps between glass pieces that will be a weak point or a waste of solder to fill in. After the piece is grinded there is glass residue on the glass that needs to be washed off. Every piece gets a tiny bath and dries before moving onto the prepping step.
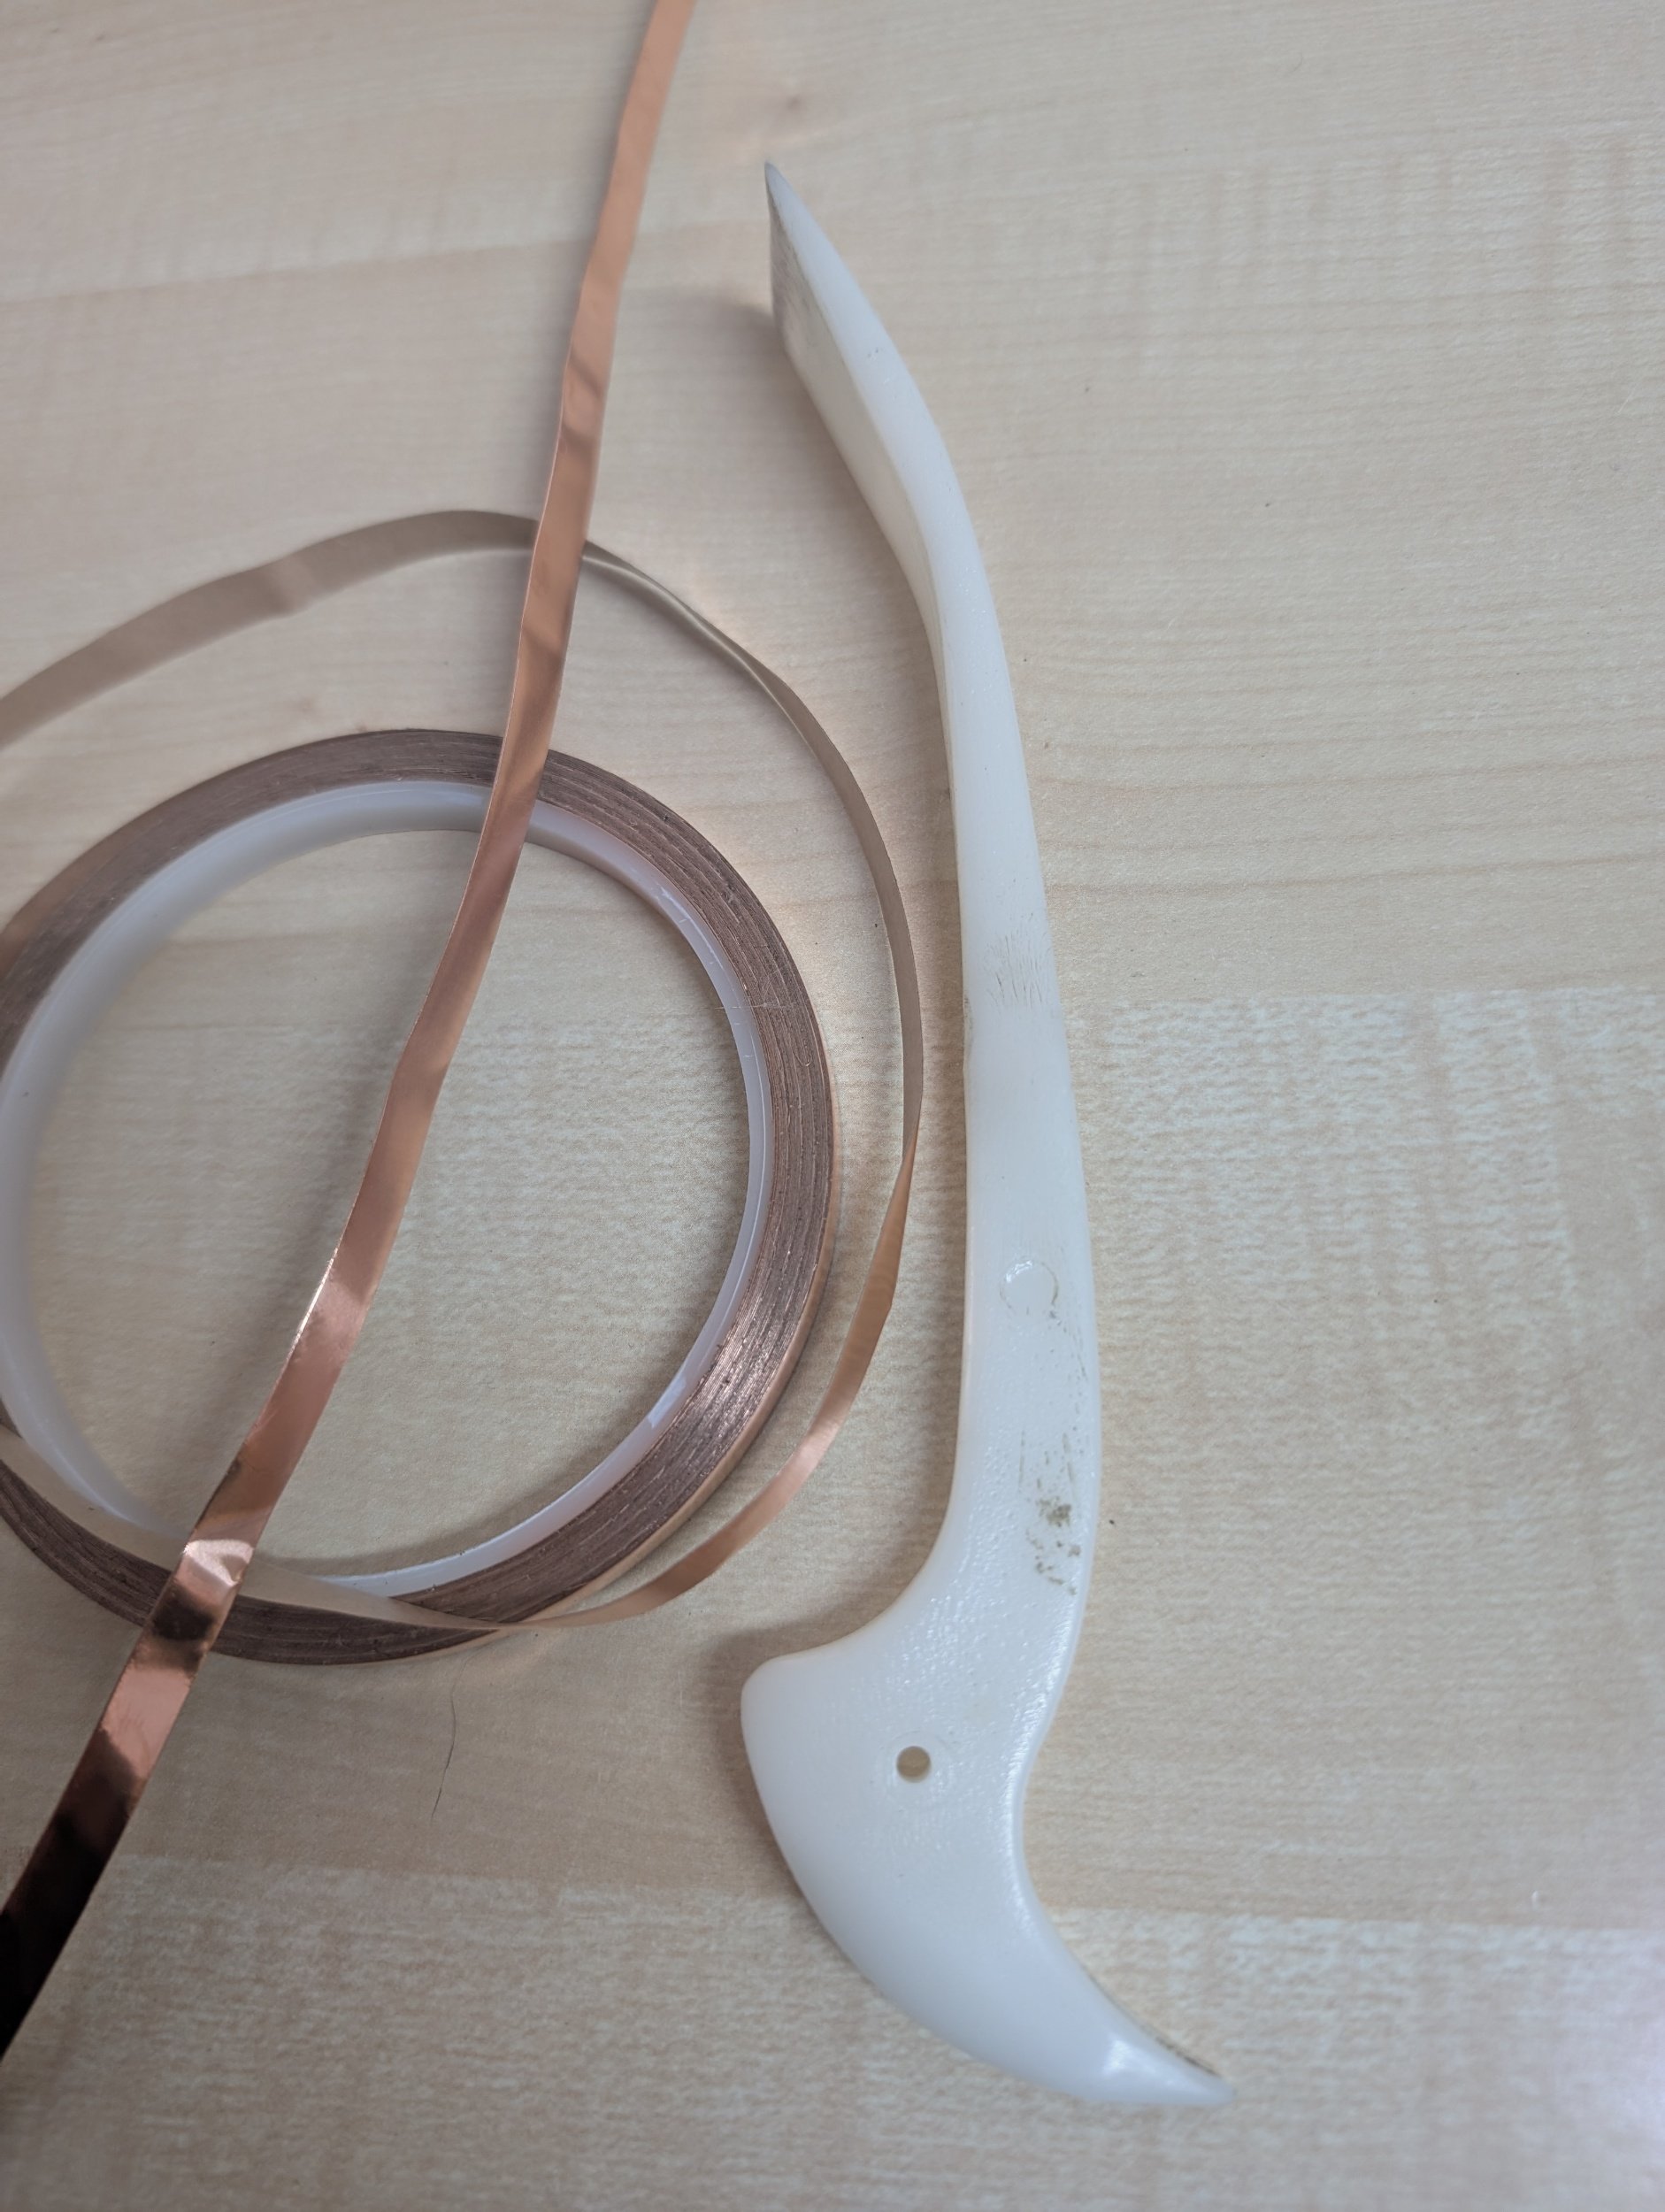
Prepping: This step is important and happens one of two ways, foiling or h-channeling. This is determined by the size of the piece I am working on; foil for the small ones, and h-channel for larger pieces. Foiling requires laying a layer of copper on every piece, the foil is copper on one side and adhesive on the other. After covering the edges with foil, I then go smooth everything out that way flux doesn’t get under the foil and damage the structural integrity. H-channeling is for the larger pieces as it is stronger and can hold the weight of the window. You cut the metal to the lengths needed and will the tack solder in the final step.
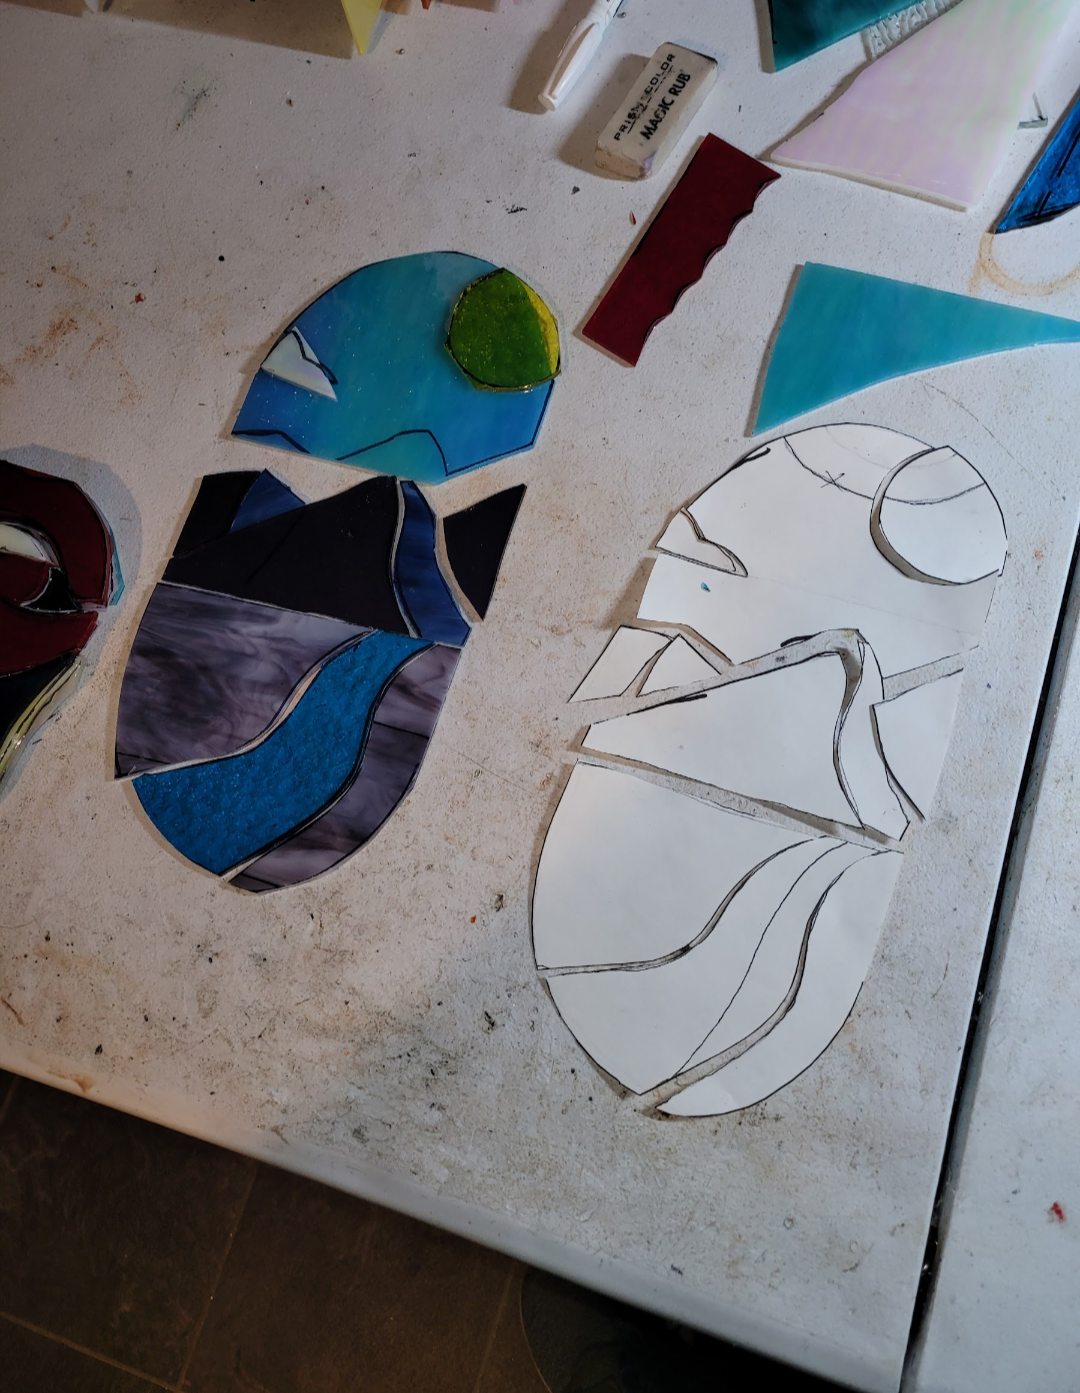
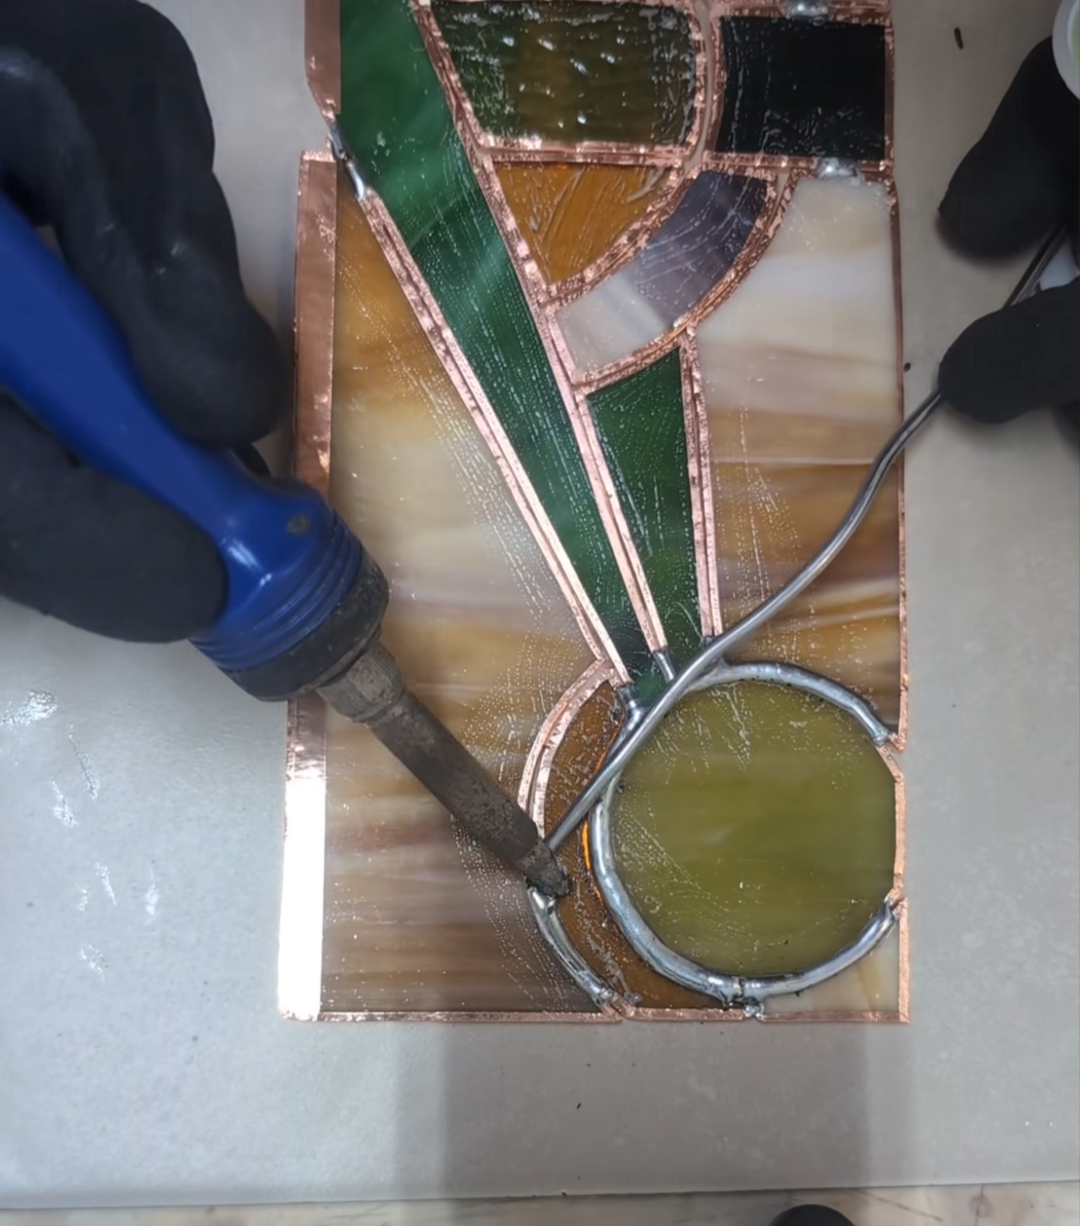
Soldering: I start by lining up my design, trying to eliminate any gaps and keep square. Next, I apply flux to all of the copper so the solder will adhere to the copper. Using a soldering iron, I tack solder the image together so the small individual pieces wont shuffle around while soldering. Once soldered, I wash each piece in a sink, removing the flux. Now I scrub these pieces with a brush and under running water, which always surprises people because they think glass is so fragile. It is fragile, but it also needs to be clean. After drying you have a finished piece of beautiful glass.